AA Wallet UI Usage
Sign Up/Login

Figure 12: Login 1
- First, locate the power button on the device and click it to turn the device on. This will bring up the main wallet connection screen.
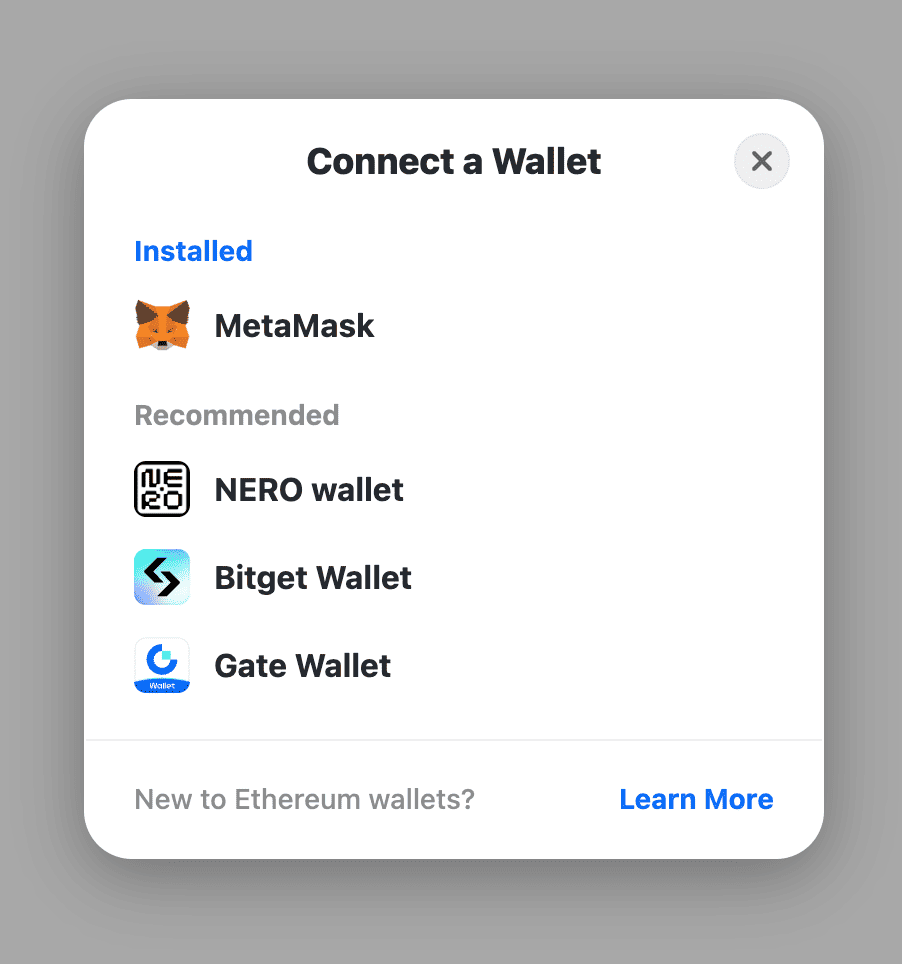
Figure 13: Login 2
- On the “Connect a Wallet” screen, you will see a list of installed and recommended wallet options. Scroll down and select “NERO wallet” from the Recommended section.
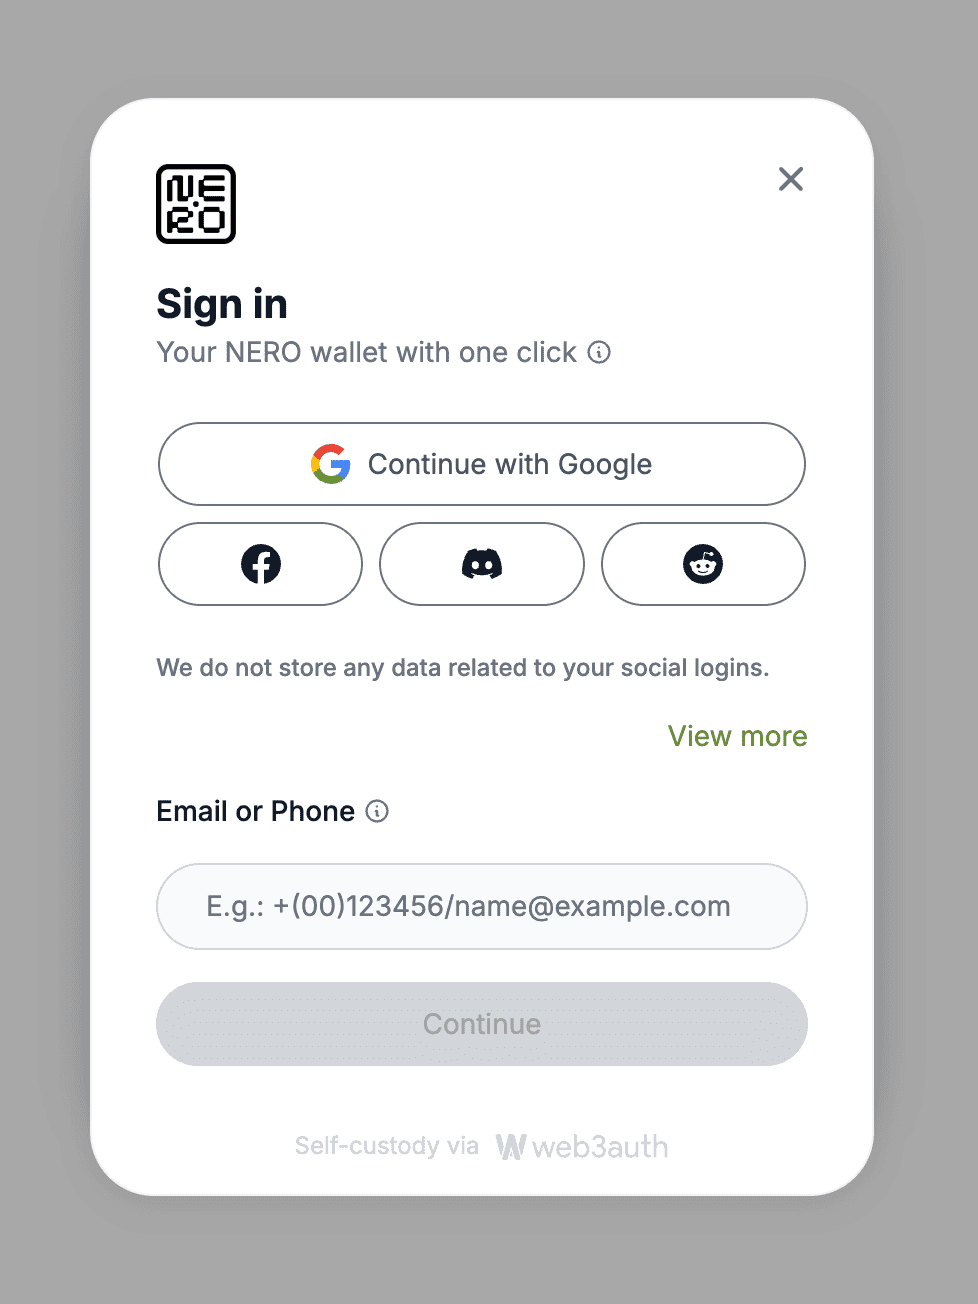
Figure 14: Login 3
- After selecting NERO wallet, you will be prompted to provide some account information to set up the wallet. You can enter your preferred social media account, email address, or phone number that you would like associated with the wallet.
- Double-check the information you entered to make sure it’s correct, then click the “Continue” button at the bottom of the screen.
- When the setup is finished, you should see the main NERO wallet interface load, indicating that the setup process is complete.
Note: Even if you login with other wallets like Bitget Wallet or Gate Wallet, you will still be logged in as an AA Wallet.
Wallet Home

Figure 15: Home
The home screen provides a clean and intuitive interface where users can view their total NERO balance. Below that, users will find two main action buttons: Send for initiating transfers and Receive to get your wallet address for receiving transfers.
There are also three tabs at the bottom for different features.
1. Tokens:
Tokens shows a list of default tokens and their balances including;
- NERO (native token)
- DAI
- USDT
- USDC
2. NFTs:
NFTs displays your NFT collection
3. Activity:
Activity displays your transaction history.
Users can tap on any token to see more details. The interface is designed simple and user-friendly, making it easy to access essential wallet functions and monitor token balances at a glance.
Note: These default tokens are pre-configured for convenience, and additional tokens can be added using the “+ Import Token” feature.
Sidebar Functions

Figure 20: Sidebar Functions
The sidebar is the main navigation menu for the AA Wallet application. The menu items allow users to access the core functionality and settings of the digital wallet.
- Logo - Takes you to the main homepage or dashboard
- Home - Takes you to the wallet’s main dashboard or home screen
- Send - Allows users to start a transaction
- Multi Send - Send assets to multiple addresses in a single transaction
- Receive - Provides QR code and wallet address to receive assets
- Settings - Adjust your wallet preference and configuration options
- Hide Wallet - Hide your main wallet interface for privacy or security
- Hide Sidebar - Minimize the left-hand navigation menu to free more screen space
- Disconnect Wallet - Log out and disconnects their wallet
This menu allows an easy access to all the key features and controls they would need to manage their digital assets effectively.
Send UserOperation Flow
All Actions Issue UserOperations to Generate Transactions
UserOperation Verification
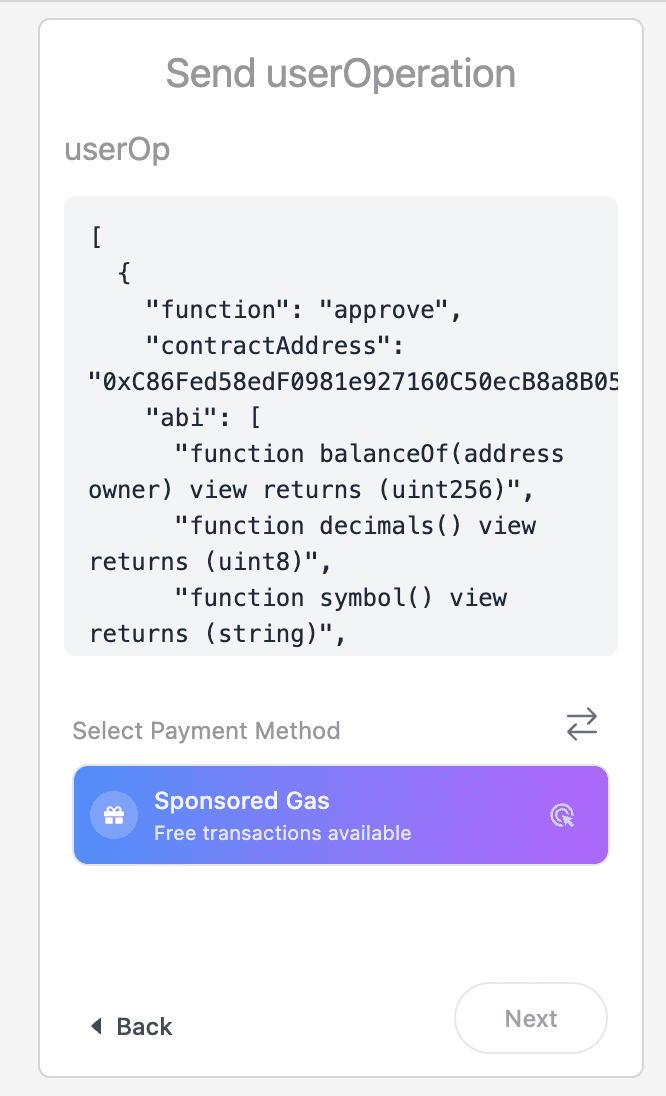
Figure 16: Send userOperation
Before executing any action in the AA Wallet, review the UserOperation details. This screen displays the complete operation data, including:
- Function calls
- Contract addresses
- ABI information
This verification step ensures transparency and allows users to confirm the details of their transaction before proceeding.
Operation Details Screen
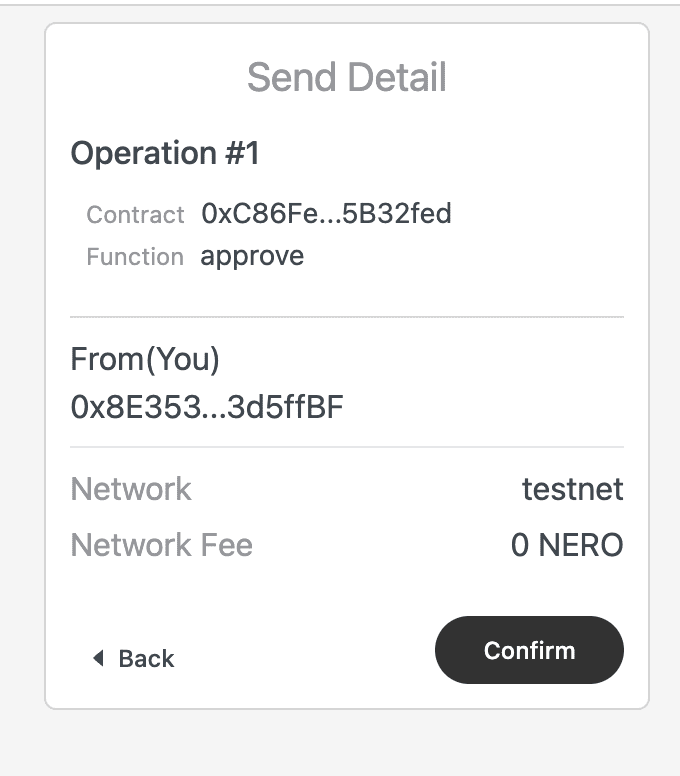
Figure 17: Send userOperation Detail
The detail provides a view of the operation, including:
- Operation number and type
- Contract address
- Function being called
- Sender address (You) and Receive address
- Network information
- Network fee
Confirmation Process

Figure 18: loading

Figure 19: success
- Carefully review all operation detailsClick the “Confirm” button to initiate the UserOperation
- Status Updates:
- Loading: The transaction is being processed
- Success: The UserOperation has been successfully created and sent to the network. When you see the success message, it confirms the transaction is complete
Payment Methods
The “Select Payment Method” screen offers two options:
Sponsored Gas
- This payment method allows users to complete transactions without having to pay the gas fees themselves.
- The gas fees are covered by the project or platform that has integrated the AA Wallet.
- However, Sponsored Gas option is only available if the project has enabled and configured this feature on the AA Platform.
- If it is not enabled, this option will not be selectable.
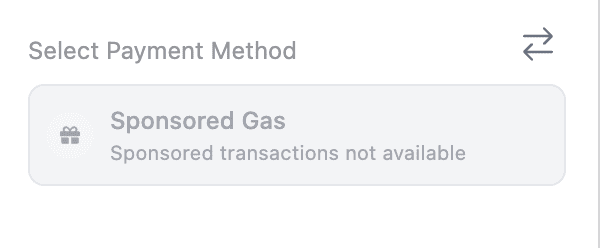
Figure 21: Sponsored Gas Not Available
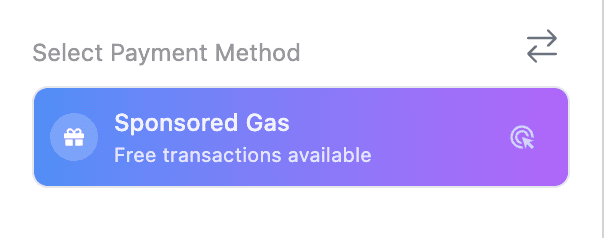
Figure 22: Sponsored Gas Available
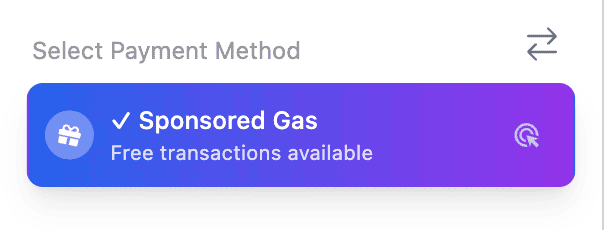
Figure 23: Clicked Sponsored Gas
Pay with Token
- This payment method allows users to pay the gas fees using a specific ERC20 token.
- The project or platform integrating the AA Wallet can specify which ERC20 token(s) can be used to cover the gas fees.
- The number of tokens available is displayed to the user (for example, 6 tokens are available).
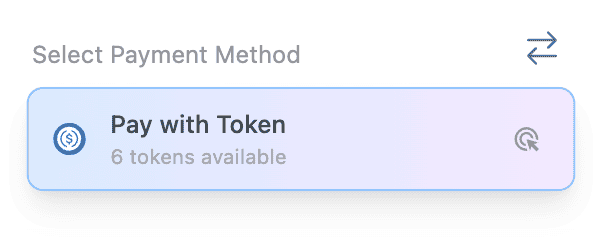
Figure 24: Pay with Token
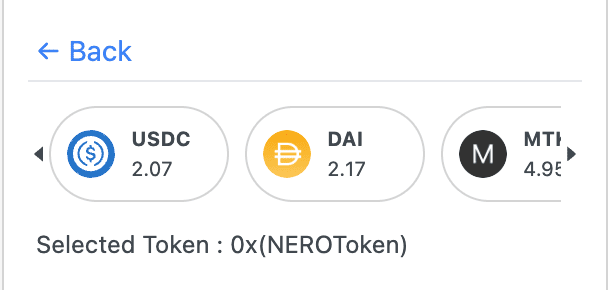
Figure 25: Pay with Token(select)
Note: The default token is NEROToken(Native Token)
Gas fee Display
Sponsored Gas
- When the Sponsored Gas option is selected, the gas fee is shown as 0, indicating that the project is covering the full gas fee for the user.
- This allows users to complete transactions without paying any gas fees.

Figure 26: Sponsor Gas Fee Display
Pay with Token
- When the Pay with Token option is selected, the maximum possible gas fee that the user may need to pay is displayed.
- This provides transparency regarding the potential gas fee users may incur when using this payment method.
- The user must ensure they have enough of the project-specified ERC20 token to cover this maximum gas fee.
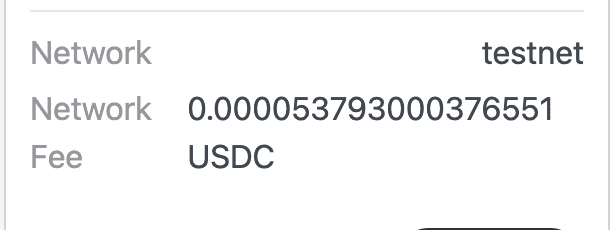
Figure 27: Erc20 Gas Fee Display