Deploying and Verifying Smart Contracts on NERO Chain
This tutorial explains how to create, compile, deploy, and verify a simple smart contract on the NERO modular chain Testnet using Hardhat.
Prerequisites
- Node.js installed
- Private key with testnet NERO tokens (get test coins from this faucet)
- Basic understanding of Solidity and Hardhat
Setting Up Your Project
First, create a new directory and initialize a new project:
mkdir nero-project
cd nero-project
npm init -y
npm install --save-dev hardhat @nomicfoundation/hardhat-toolbox
npm install dotenv @nomicfoundation/hardhat-ignition-ethers
npx hardhat initChoose an appropriate option when prompted to set up your project:
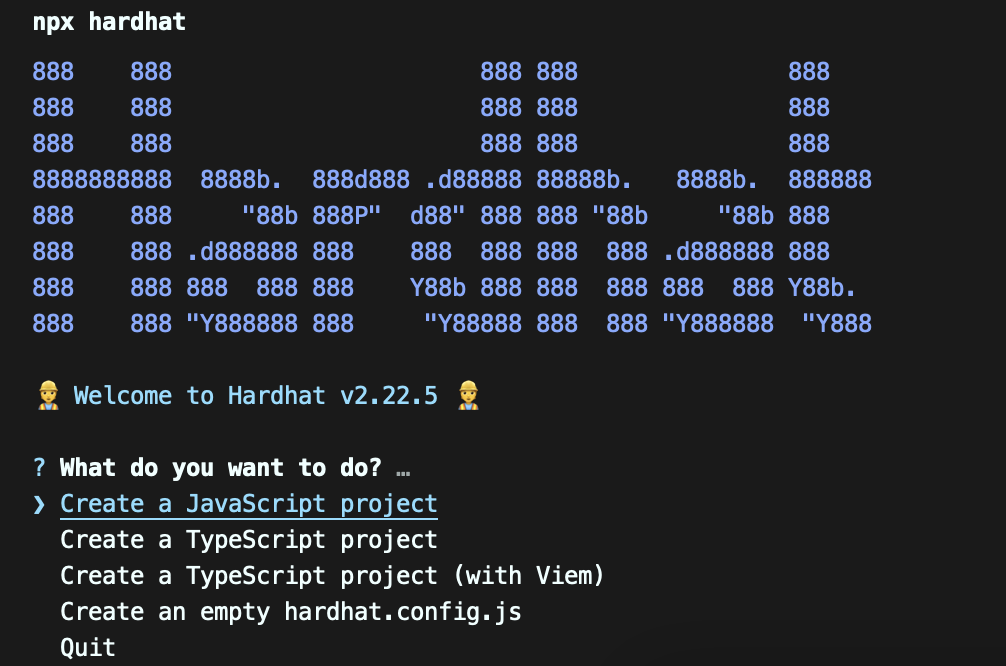
Figure 1: npx hardhat
Creating a Smart Contract
Create a contracts directory (if not already created) and add your smart contract file:
mkdir -p contractsYou can create your own smart contract or use templates like the Openzeppelin token smart contract.
Here’s a simple example contract you can use:
// SPDX-License-Identifier: MIT
pragma solidity ^0.8.17;

contract HelloWorld {
    string private greeting = "Hello, NERO Chain!";

    function setGreeting(string calldata _greet) public {
        greeting = _greet;
    }

    function getGreeting() public view returns (string memory) {
        return greeting;
    }
}
Configuring Hardhat for NERO Chain
Create a .env file in your project root with the following variables:
NERO_TESTNET_PROVIDER_URL=https://rpc-testnet.nerochain.io
PRIVATE_KEY=your_private_key_here
API_KEY=dummy
Then, update your Hardhat configuration file:
require("@nomicfoundation/hardhat-toolbox");
require("dotenv").config();

module.exports = {
  defaultNetwork: "nero",
  networks: {
    nero: {
      url: "https://rpc-testnet.nerochain.io",
      chainId: 689,
      accounts: [process.env.PRIVATE_KEY]
    },
  },
  solidity: "0.8.17",
  etherscan: {
    apiKey: "dummy",
    customChains: [
      {
        network: "nero",
        chainId: 689,
        urls: {
          apiURL: "https://api-testnet.neroscan.io/api",
          browserURL: "https://testnet.neroscan.io/"
        }
      }
    ]
  }
};
Deploying Smart Contracts
You can deploy your contract using either a deployment script or Hardhat Ignition.
Option 1: Using a Deployment Script
Create a scripts directory and add a deployment script:
mkdir -p scriptsCreate a file scripts/deploy.js with:
async function main() {
    const HelloWorld = await ethers.getContractFactory("HelloWorld");
    const contract = await HelloWorld.deploy();
    await contract.waitForDeployment();
    console.log("HelloWorld deployed to:", await contract.getAddress());
}

main().catch((error) => {
    console.error(error);
    process.exitCode = 1;
});
Then deploy by running:
npx hardhat run scripts/deploy.js --network nero_testnetOption 2: Using Hardhat Ignition
For more complex deployments, you can use Hardhat Ignition:
- Create an ignition module directory:
mkdir -p ignition/modules- Create a deployment module file (e.g.,
ignition/modules/deploy-hello-world.js):
const { buildModule } = require("@nomicfoundation/hardhat-ignition/modules");

module.exports = buildModule("HelloWorldModule", (m) => {
  const helloWorld = m.contract("HelloWorld");
  return { helloWorld };
});- Deploy with Ignition:
npx hardhat ignition deploy ./ignition/modules/deploy-hello-world.js --network nero_testnet- Save the deployed contract address from the output.
Verifying Smart Contracts
After deploying your contract, you should verify it to make its source code public on the NERO Chain explorer:
npx hardhat verify --network nero_testnet DEPLOYED_CONTRACT_ADDRESSReplace DEPLOYED_CONTRACT_ADDRESS with your actual deployed contract address.
Troubleshooting Verification
- If verification fails, ensure your Solidity compiler version matches exactly
- Check that your contract doesn’t use libraries or dependencies not included in the flattened file
- If using constructor arguments, make sure they’re correctly provided in the verify command:
npx hardhat verify --network nero_testnet DEPLOYED_CONTRACT_ADDRESS "constructor argument 1" "constructor argument 2"
Conclusion
Once deployed and verified, you can view your contract on the Testnet Explorer.
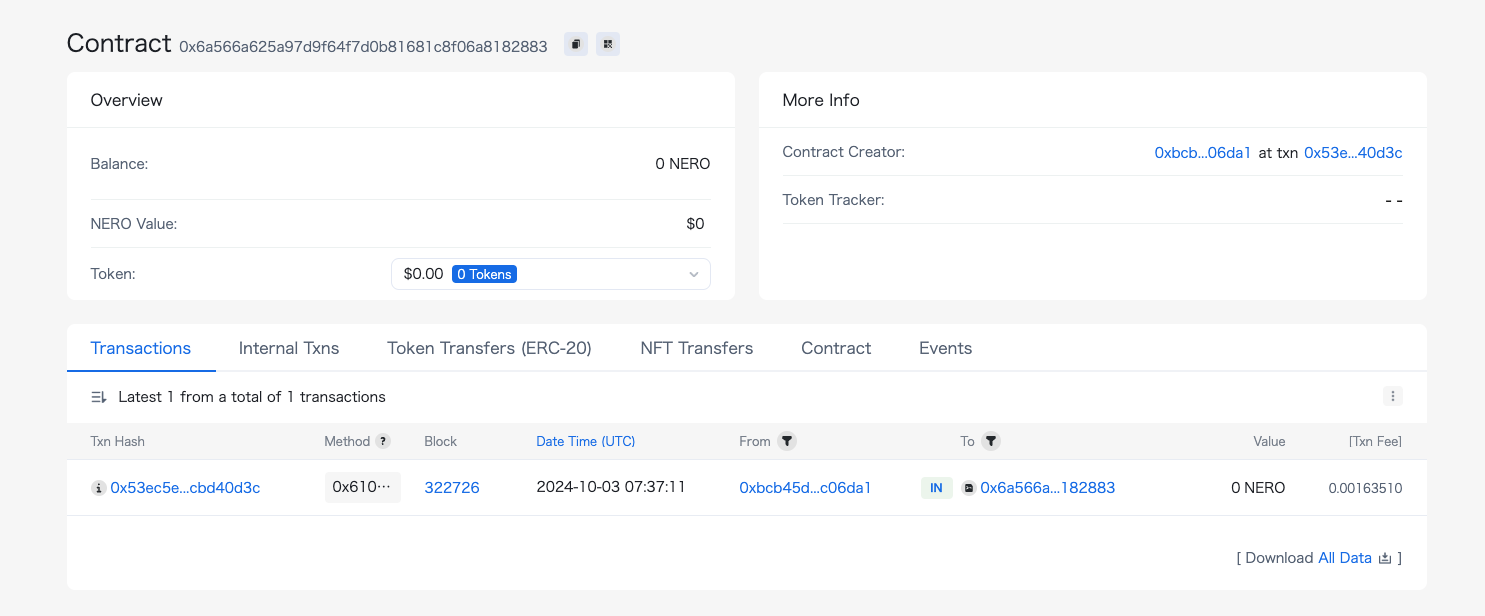
Figure 2: NERO testnet scan
Congratulations! You have successfully deployed and verified your smart contract. Although this tutorial used the testnet, you can follow the same process for the mainnet by updating the RPC endpoints and network configuration.